Contacts Tab (Vendor Maintenance Form)
You can add vendor contact to the Vendor Maintenance form using this tab (Alt-O).
Adding a Contact using the Contacts Tab
Where ever you add a contact, in Account Maintenance or Vendor Maintenance, the first contact record you add is always Contact 0. Typically this is the person that receives all correspondence that is sent by the application to the business you are corresponding with.
To add a new contact to a vendor record:
1. From the Main Menu, choose Purchasing > Database > Vendor to display the Vendor Maintenance form.
2. From the Code list, choose the vendor record you want to add the contact to.
3. Click the Contacts tab to display the contact fields.
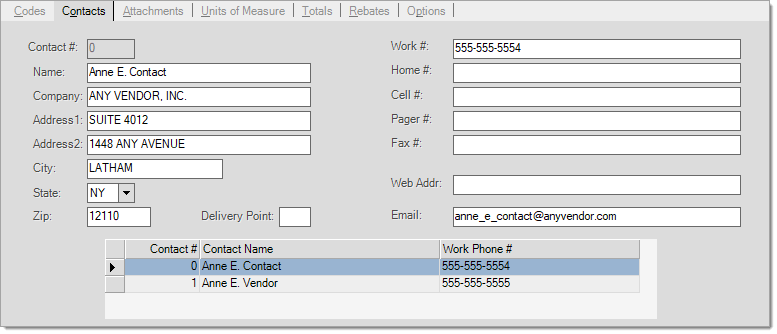
4. In each field enter the information you need to effectively communicate with your vendor contact.
5. When you have completed your entries, choose the appropriate function key to save:
-
When you add a new contact, choose the Save (F6) key before you process the form.
-
When you edit an existing contact, choose the Modify (F6) key before you process the form.
Important: Selecting these function keys saves the contact information to the record; if you choose the Process (F12) key without saving using the F6 key, the contact information is not saved to the database. If you process a form that contains new or changed contacts without choosing the F6 function key, a warning message displays:-
Sub folders have unsaved changes
-
6. When you have completed all of the additions and changes in the maintenance form, choose Process (F12) to save the changes to the database.
You can assign multiple email addresses to the same contact. To do this, separate each individual address with either a comma (,) or semicolon (;). Multiple addresses are split into separate "mail-to" recipients, and all addresses will be visible to the other email recipients.
|